Outdoor Projection Begins With Light Reality
A backyard projector setup can feel magical, but it cannot ignore daylight. Projectors create images by adding light to a surface, so sun, patio lights, fire pits, and reflective surroundings all affect clarity. The best outdoor setups plan for viewing time, screen material, projector brightness, throw distance, audio, and safe power before the first movie night. Bright and clear viewing is not the result of one specification. It comes from matching the projector to the screen and the environment, then making the setup stable enough to repeat without frustration.
Choose Brightness for the Actual Viewing Time
Outdoor projector brightness is often misunderstood. A projector that looks powerful in a dark room may struggle before sunset. If the goal is daytime sports, projection may be the wrong tool unless the area is heavily shaded and the screen is designed for ambient light. For most backyards, the best image appears at dusk or after dark.
Brightness ratings can be confusing, so real-world expectations matter. A larger screen spreads light over more area, reducing perceived brightness. A darker screen surface may improve contrast but require more projector output. A white screen can look bright but may wash out if ambient light is high. The setup should be judged as a system.
The simplest way to improve clarity is to schedule viewing later and reduce competing lights. That does not cost anything, and it often improves the image more than buying the next model up.
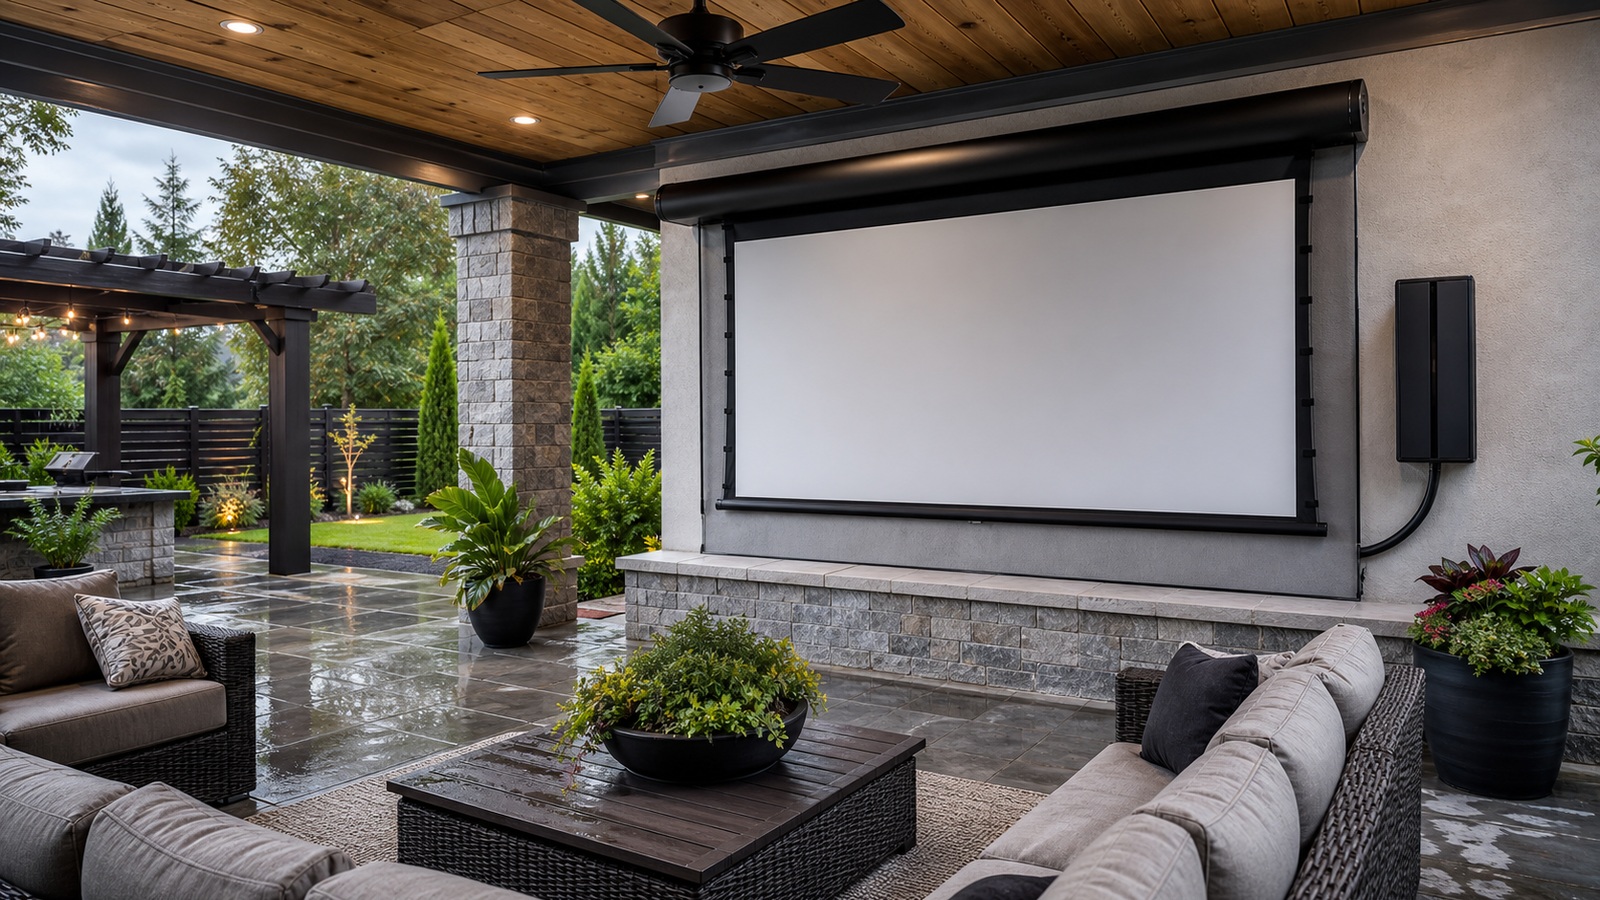
The Screen Is Half the Picture
Projecting onto a wall or sheet may be fine for casual experiments, but a clear outdoor setup benefits from a proper screen. Tensioned surfaces reduce wrinkles, outdoor fabrics resist moisture, and frames keep the image square. Screen gain and material should match the projector and seating arrangement.
A stable screen also improves the social experience. Wind movement, sagging corners, and visible folds pull attention away from the movie. Freestanding frames, wall-mounted screens, and retractable options can all work if they are secured appropriately and stored correctly.
Placement Determines Sharpness and Ease
Projector placement affects focus, geometry, fan noise, cable safety, and whether people walk through the beam. A projector balanced on an unstable table may work once, but it becomes irritating if every movie starts with leveling, keystone correction, and cable rearranging. A dedicated stand, shelf, or cart can make the setup repeatable.
Throw distance should be calculated before buying. Short-throw projectors can sit closer to the screen, which helps in tight patios. Standard-throw models may need more depth. Keystone correction can rescue a slightly off-angle placement, but heavy correction can soften the image. Physical alignment is still the cleanest solution.
Fan noise also matters outdoors, especially when the projector sits near the seating. Place it where ventilation is clear and the sound does not compete with dialogue.
Audio Needs Its Own Plan
A projector’s built-in speaker is rarely enough for a backyard group. Outdoor sound must overcome open air without annoying neighbors. Weather-resistant powered speakers, portable PA-style speakers, or an outdoor audio zone can all work, but placement should keep sound close to listeners.
- Aim speakers toward seating rather than across property lines.
- Use stands or shelves that lift sound above cushions.
- Check Bluetooth delay before relying on wireless audio.
- Keep volume reasonable by placing speakers closer to the audience.
Good audio makes the image feel clearer because viewers stop straining to follow dialogue. It is part of the viewing system, not an accessory.
Make Setup and Teardown Simple
Outdoor projectors often fail as habits because setup takes too long. If every viewing requires searching for cables, leveling the screen, charging speakers, and rearranging furniture, the system will be used less. Create a repeatable kit with labeled cables, a storage bin, a stable projector base, and a clear power plan.
Weather readiness matters even when the projector is portable. Know where everything goes if wind rises or rain starts. Keep extension cords rated for outdoor use, avoid walkway hazards, and store electronics indoors unless they are truly rated for exposure.
The best outdoor projector setup balances ambition with repeatability. A bright enough projector, a steady screen, thoughtful timing, safe power, and clear audio can make a backyard feel like an event without turning movie night into a technical production.
Do Not Oversize the Image Past the Projector’s Strength
The temptation outdoors is to make the image enormous. A big screen can be exciting, but every increase in size spreads the projector’s light thinner. The result may be a picture that is impressive in scale but weak in contrast. A slightly smaller image that looks bright and sharp often feels more satisfying than a huge dim one.
Screen size should be chosen with seating distance, projector brightness, and viewing time in mind. If guests sit fairly close, a moderate screen can still feel cinematic. If the projector is portable or battery-powered, restraint becomes even more important. The goal is not maximum diagonal measurement; it is a picture people can see clearly without effort.
Testing before committing to a permanent screen size is smart. Project onto a temporary surface at different sizes and watch real content, not only a menu screen. Faces, subtitles, night scenes, and sports motion reveal whether the image has enough strength.
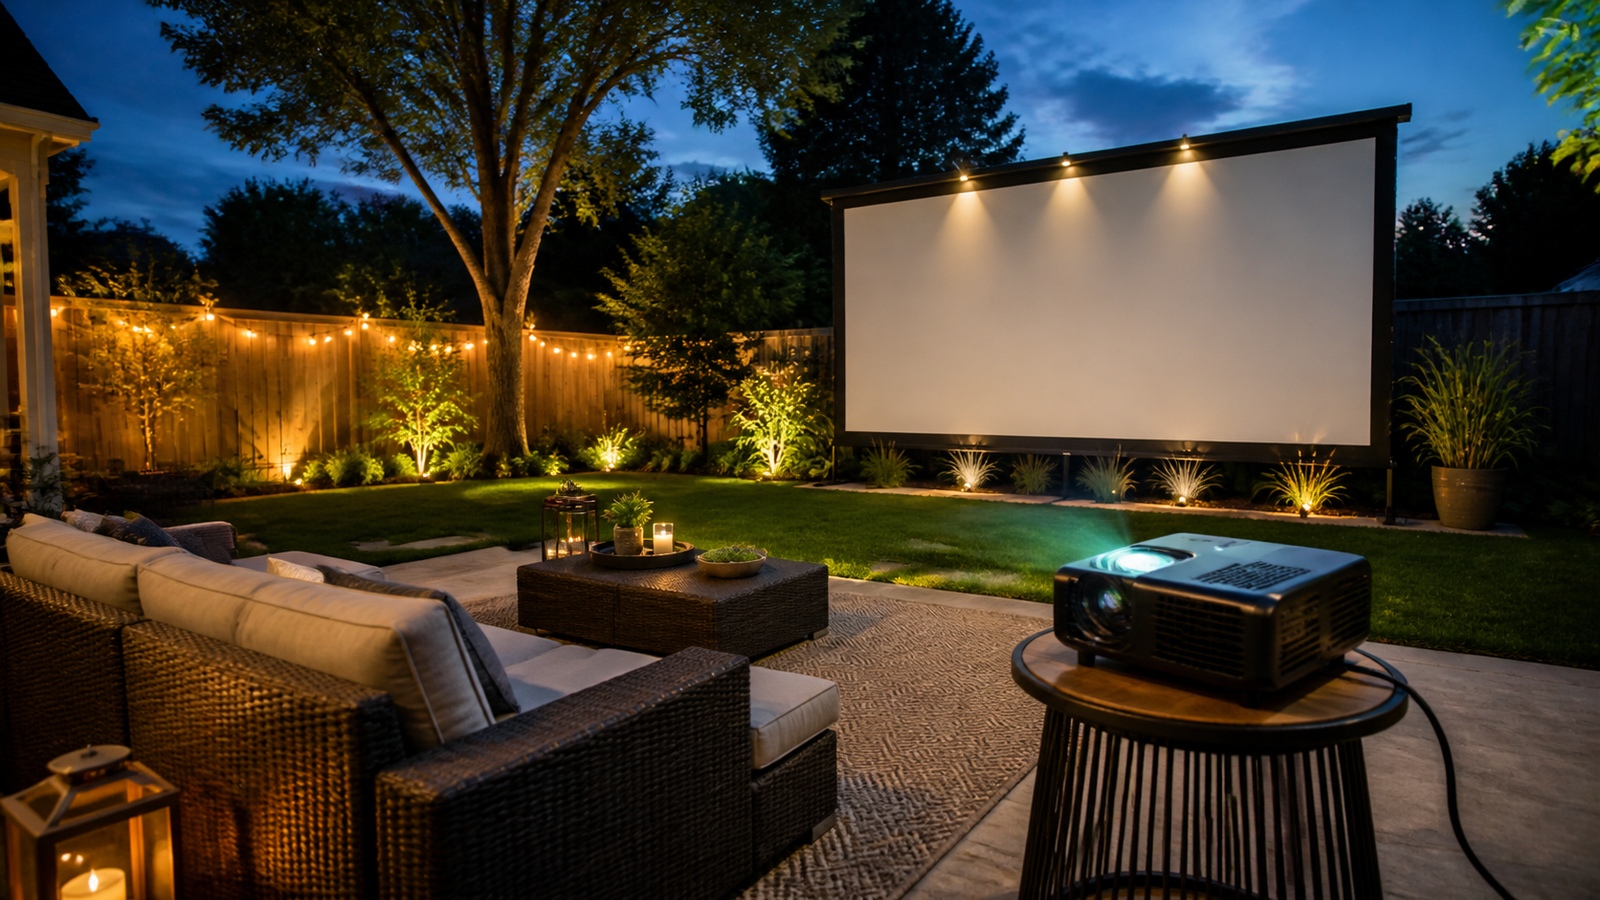
Manage Ambient Light From Every Direction
Ambient light is not only sunlight. String lights, kitchen windows, security lights, pool reflections, fire pits, and even bright paving can reduce contrast. Outdoor projector setups should be arranged so necessary lights support movement and safety without washing the screen.
Low, warm pathway lights are usually better than bright overhead fixtures. Landscape lights should aim away from the screen surface. If a nearby window throws light toward the screen, curtains or shade timing may be needed. The darker the screen area becomes, the more modest equipment can perform well.
A good setup creates zones: enough light for people to walk and eat, less light at the screen, and controlled light near the projector. That balance keeps the night comfortable without sacrificing picture quality.
Save the Settings That Work
Outdoor projector setups are often temporary, which means good alignment can disappear after one night. Once the image looks right, record the details. Mark the projector position, note the zoom and focus range, save the picture mode, and keep the screen hardware organized. These small habits make future setup faster.
If the projector allows custom picture modes, create one for outdoor use. It may need different brightness, color temperature, and motion settings than indoor viewing. Audio delay settings may also need adjustment if wireless speakers are used. A repeatable setup should not require rediscovering every choice.
The more predictable the process becomes, the more often the projector will be used. Bright, clear viewing depends on equipment, but repeated enjoyment depends on removing setup friction.
Design the Setup for the Audience, Not the Equipment Table
Outdoor projector planning can become focused on where the projector happens to fit, but the audience should drive the layout. Viewers need comfortable sightlines, clear sound, safe pathways, and a screen that feels large enough without forcing them to crane their necks. The equipment table is only successful if it supports that experience.
Start with seating. Decide where people will gather, whether they will sit in lounge chairs, dining chairs, blankets, or sectional seating, and how many rows the space needs. Then choose screen height and size. A screen that is too low may be blocked by the front row, while one that is too high can feel tiring. Outdoor setups often need a little extra bottom height because seating is informal and people move around.
Next, protect the beam path. Guests should not have to walk between the projector and screen to reach snacks, doors, or the house. If that path is unavoidable, consider a short-throw projector, a different screen position, or a clearer walkway. The best setup feels natural even when people arrive late or stand up during the movie.
Audio should be aimed at the same audience zone. Speakers placed near the screen can work, but open air absorbs sound quickly. Bringing speakers closer to listeners can improve dialogue while keeping volume lower. That choice helps neighbors and makes the movie easier to follow.
When the setup is designed from the audience backward, the projector becomes part of a complete outdoor room. Brightness and resolution still matter, but comfort and flow are what make people want another movie night.
Prepare for the Parts of the Night That Are Not the Movie
Outdoor projector setups include more than the film. People arrive while there is still daylight, choose seats, get food, move around, pause for conversations, and eventually pack up in the dark. A setup that only considers the image may overlook the practical parts of the evening that shape whether guests enjoy themselves.
Create a simple pre-show mode. Use enough light for people to find seats and snacks, keep music or background audio separate from the movie source if needed, and have the projector ready before the audience gathers. Once the movie starts, lights near the screen can drop while path lighting remains low and safe.
Breaks need planning too. If viewers will pause for food, make sure cords are not in the traffic path. If children are present, keep the projector stable and away from curious hands. If the evening may cool down, blankets or heaters can keep people from leaving early.
A clear viewing setup is strongest when the whole night flows. The image draws attention, but comfort, movement, and teardown determine whether the backyard projector becomes a repeat tradition.
Clarity Comes From Removing Obstacles
Outdoor projection improves when obstacles are removed one by one. Too much light, a wrinkled screen, unstable placement, weak audio, unsafe cords, and slow setup all reduce the experience. Solve those problems before chasing a more dramatic projector specification.
The best backyard systems are not always the most complex. They are the ones that can be set up consistently, viewed comfortably, and packed away safely. A clear image is easier to achieve when the whole environment is working with the projector.
That is the practical secret of outdoor projection: the night feels magical only after the basics have been made predictable. A good setup turns brightness, focus, seating, sound, and teardown into repeatable steps. Once those steps are familiar, the projector stops feeling like a project and starts feeling like an easy reason to gather outside. The picture becomes clearer because the environment, equipment, and audience plan are finally working together. Good planning also keeps the host present with guests instead of stuck adjusting focus, moving cords, or chasing audio problems. The equipment serves the evening best when it stops interrupting it. Then the backyard, not the hardware, becomes the memorable part of the night, which is exactly the point.
A short pre-show test protects the evening. Play a dark scene, a bright scene, and a dialogue scene before guests arrive so picture and sound problems can be fixed quietly. That small rehearsal keeps the first ten minutes from becoming a public troubleshooting session outside.
TV Top 10 Product Reviews
Explore Philo Street’s TV Top 10 Product Reviews! Discover the top-rated TVs, access comprehensive reviews, and find the perfect screen for your space.